Recumbent Bikes, Human powered Vehicles, Wind powered vehicles, and ways to make and design them
ben@mountain-wave.ca sent you a link to content of interest
Published Wednesday, August 27, 2008 by Ben.
ben@mountain-wave.ca sent you a link to the following content:
3D scanning with a camera flash?
http://solidmentor.com/modules/news/article.php?storyid=223
The sender also included this note:
Test post
--
Sent via a FeedFlare link from a FeedBurner feed.
http://www.feedburner.com/fb/a/publishers/feedflare
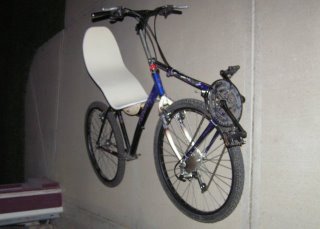
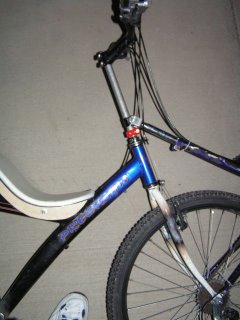
Also a SWB highracer
Published Monday, September 03, 2007 by Ben.
Here is the preliminary higracer


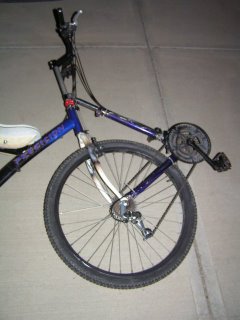
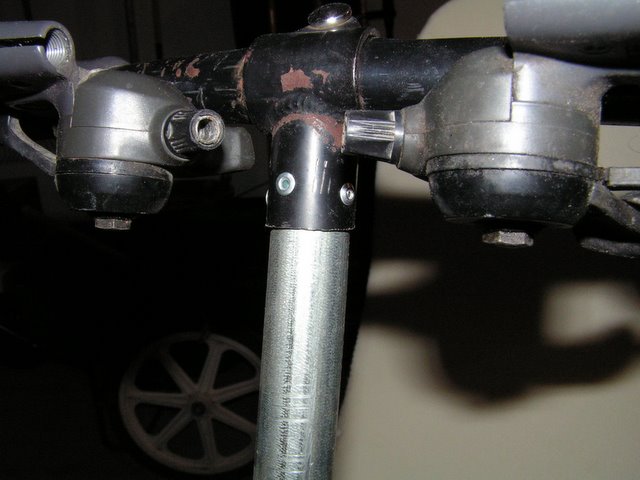
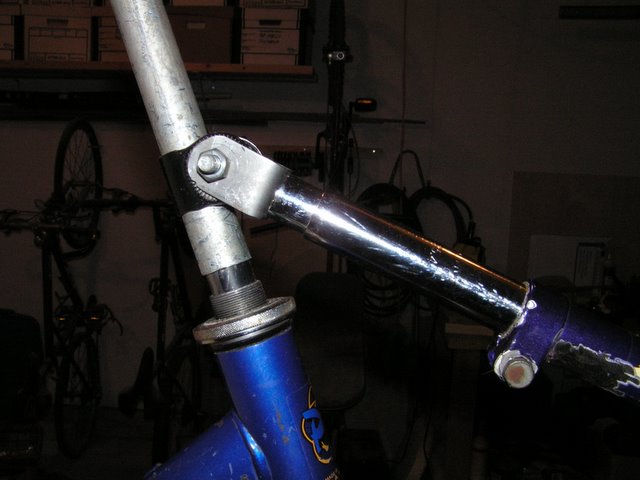
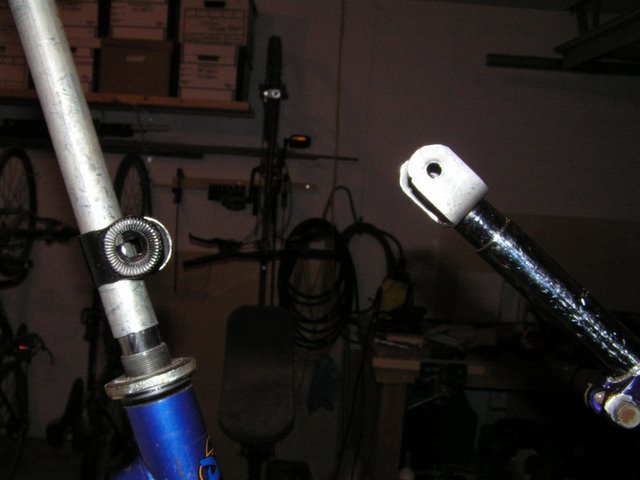
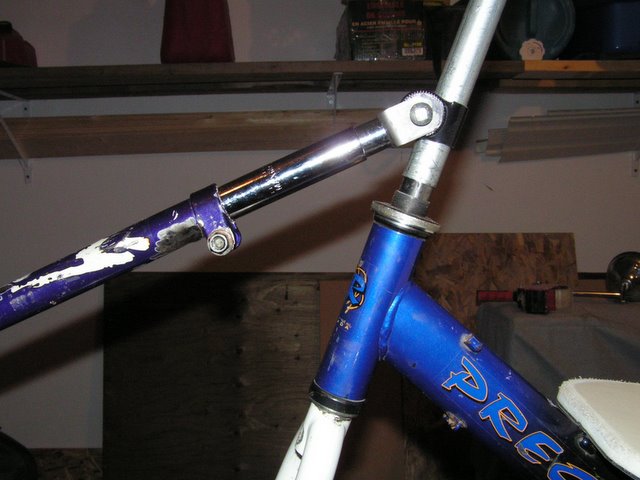
Also you will note that the boom can be extended or contracted as needed and below is my idea of how to deal with the steering. I took the quill cut and rewelded the handlebar clamp at 90 degrees. Then I took a handlebar and cut it at the edge of the expansion area in the middle, took the cut piece and welded it to the other end and voila a extension riser for the handlebar. I will next take another clamp and weld it to the end of the riser and put a handlebar on once the height is determined. It will be easy to mod if need be!

Also you will note that the boom can be extended or contracted as needed and below is my idea of how to deal with the steering. I took the quill cut and rewelded the handlebar clamp at 90 degrees. Then I took a handlebar and cut it at the edge of the expansion area in the middle, took the cut piece and welded it to the other end and voila a extension riser for the handlebar. I will next take another clamp and weld it to the end of the riser and put a handlebar on once the height is determined. It will be easy to mod if need be!
F'Lowroller
Published by Ben.
I have been building a F'Lowroller and here are some pics


I have been building a F'Lowroller and here are some pics
I have been building a F'Lowroller and here are some pics

WOW!
Published Monday, September 04, 2006 by Ben.
After a little tweeking this bike is awesome and very very comfortable. I have changed the handlebars to a clamp on neck and this made a big difference on the handling the neck out gives a lever to help turn.
I am still learning to ride but here are my thoughts so far.
1. When slow speed turning it is better to be under power it gives you the chance to power out of too steep a lean
2. It is harder to steer coasting when starting out
3. RELAX RELAX RELAX then things come together
later...

I am still learning to ride but here are my thoughts so far.
1. When slow speed turning it is better to be under power it gives you the chance to power out of too steep a lean
2. It is harder to steer coasting when starting out
3. RELAX RELAX RELAX then things come together
later...


Rivets
Published Tuesday, August 22, 2006 by Ben.
You know what I have been told over and over again that using rivets is a bad idea. I agree I have brazed this connection but if you do not have brazing ability then use at least a 1/4inch bolt.
I will also be modifying this later this week to a better configuration and also adding wider handlbars
Stay tuned same bat place same bat time.
Ben
I will also be modifying this later this week to a better configuration and also adding wider handlbars
Stay tuned same bat place same bat time.
Ben
Rivets
Published by Ben.
You know what I have been told over and over again that using rivets is a bad idea. I agree I have brazed this connection but if you do not have brazing ability then use at least a 1/4inch bolt.
I will also be modifying this later this week to a better configuration and also adding wider handlbars
Stay tuned same bat place same bat time.
Ben
I will also be modifying this later this week to a better configuration and also adding wider handlbars
Stay tuned same bat place same bat time.
Ben
Rivet... Rivet
Published Thursday, August 17, 2006 by Ben.
How the handlebar clamp is riveted on... Now I am making sure I use nothing involving welding and only use simple tools to make this. Otherwise I would have brazed this on...

Slight change of plans
Published by Ben.
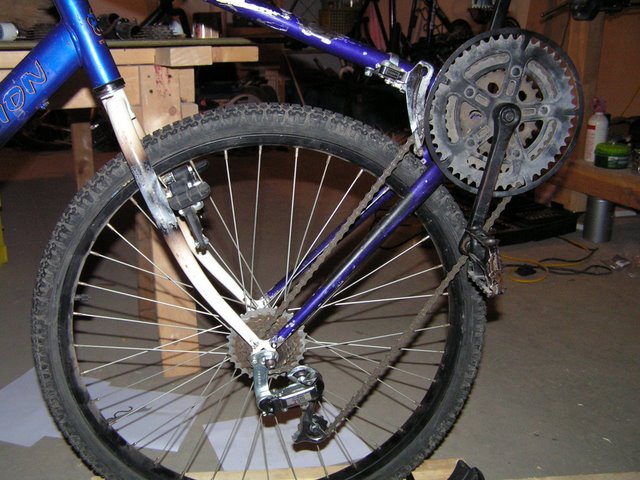
Turns out that the forks I have had a pannier hole in the front as well as the back of the drop out, so I cut the hard to manage rear drop outs and bolted the crank on. This has worked great. If you don't have front mount holes on the forks you could just use a HomeDepot clamp or some strap and make a wrap around the fork and bolt to the little hole on the chainstays mount to the forks. I will mock one up one of these days.

Movie of a Cruzbike in action
Published Friday, August 04, 2006 by Ben.
Here is a Cruze bike in action on YouTube
There are three videos here
http://youtube.com/results?search_query=cruzbike&search=Search
To show you how nice it seems to be to ride...
There are three videos here
http://youtube.com/results?search_query=cruzbike&search=Search
To show you how nice it seems to be to ride...
Final frame pic
Published by Ben.
Here is the machine! Anyone can build this with basic tools. I will be adding the derailleurs, brakes, tires, cables etc etc and giving this a test ride soon. After that it is a scrape down and paint.
Things that I have learned from this
-Recumbents can be dirt cheap.
-Dont use quick release axels on the front wheel here, you need all the axel you can get to mount everything.
-Welders are optional
-The offset or dish of the drive wheel has to be taken into account when bending forks
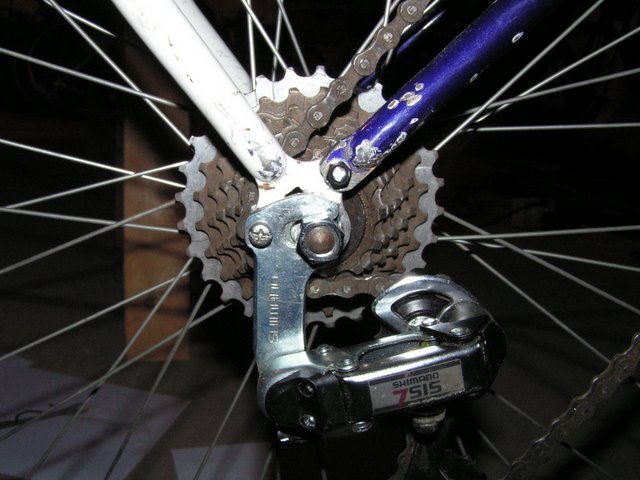
-The lack of offset in the coasting wheel has to be taken into account when mounting on the rear part of a frame, you should put a third nut onto the left side axel and spin it down onto the bearing lock nut before mounting to offset or space the wheel so that the wheel wont rub the frame and you can properly mount the brake. (I will post some photos of this later)
-I may make a major change to the dropouts on the cut down frame to make life easier. Stay tuned Same bat place, same bat time....
This is alot like a Cruzbike, and I recommend you buy one or buy the kit if you dont want to go through this rigamoreole... it is a great kit or a great bike if you purchase one.
http://www.cruzbike.com/
http://sports.groups.yahoo.com/group/Cruzbike/
Things that I have learned from this
-Recumbents can be dirt cheap.
-Dont use quick release axels on the front wheel here, you need all the axel you can get to mount everything.
-Welders are optional
-The offset or dish of the drive wheel has to be taken into account when bending forks
-The lack of offset in the coasting wheel has to be taken into account when mounting on the rear part of a frame, you should put a third nut onto the left side axel and spin it down onto the bearing lock nut before mounting to offset or space the wheel so that the wheel wont rub the frame and you can properly mount the brake. (I will post some photos of this later)
-I may make a major change to the dropouts on the cut down frame to make life easier. Stay tuned Same bat place, same bat time....
This is alot like a Cruzbike, and I recommend you buy one or buy the kit if you dont want to go through this rigamoreole... it is a great kit or a great bike if you purchase one.
http://www.cruzbike.com/
http://sports.groups.yahoo.com/group/Cruzbike/

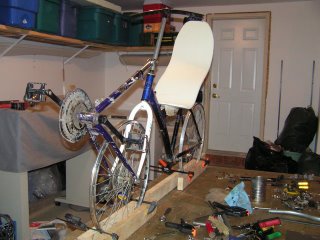
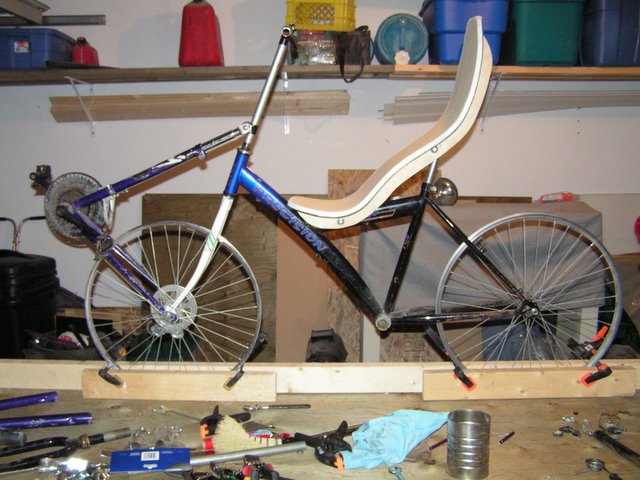
Frame is done!!!!
Published by Ben.
Taaaa Daaaaa!!!!!!!!!!!!!!!
Ok so now I have to mount the hardware, tires, etc etc. But the frame is done.

Ok so now I have to mount the hardware, tires, etc etc. But the frame is done.
Final stretch
Published by Ben.
Now put the filed out seat clamp on the gooseneck extension and put the new seat post / "c" mount into the cut down frames seat post hole...

Last mount piece
Published by Ben.
Take the last seat mount bracket and file it out to fit 3/4 inch conduit....


Put it all together
Published by Ben.
Take all the pieces and slde them together and snug it all up.Did you put the wedge nut bolt through the "c" mount? Did you use a lock washer? If not DO IT! the lock washer is important!


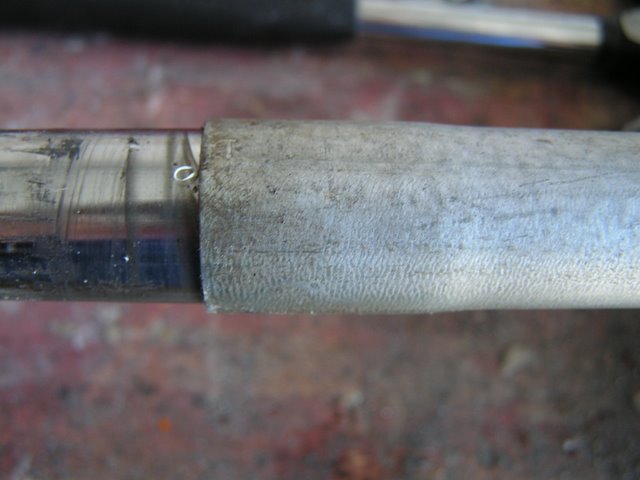
How it is made
Published by Ben.
Turns out that seat posts (with the end cut off) fit nicely, well the actually they are a tight fit, over goose neck posts.... Have a look at the picture. I took a piece of 1/8 x 1 inch metal strap from a local hardware store and bent it in the vice to the "c" shape and drilled some holes to bolt it into the final assembly. I am sure you can find this part somewhere and you dont have to make it but I dont know where to buy them, I just know they exist.


Now how to mount the top section of the doner frame
Published by Ben.
Ok, so now how do we mount the top section of the frame? Have a look at this photo and the next steps are how to make this mount


Put together
Published by Ben.
Now wedge that baby into the conduit. I havent fastend it yet but you could run a 1.4 inch bolt through it to lock it or even some cheap rivets. I may just braze it later but I wanted to challenge myself to building with only basic tools and no welding. the last thing for a challenge was to make it look profesional and not something from the movie Dune.


After the cut
Published by Ben.
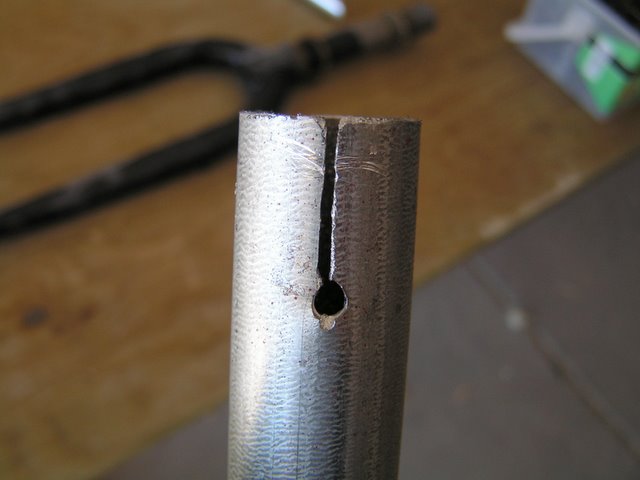
Now that you have cut the height. slot the end and squish the tub a bit and then it will wedge into another piece of the cut apart goose neck.


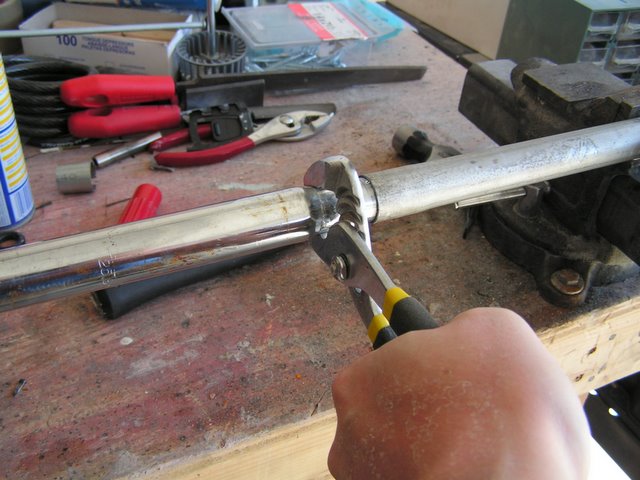
Cut extension down to size
Published by Ben.
Cut the conduit extension down to size now. Read the picture for the length. This one is up to you.


Nice Flare!
Published by Ben.
See the flared section? it now fits perfectly over the goosneck post now...

About me
- I'm Ben
- From Calgary, Alberta, Canada
- My life is an open book you just have to learn to turn the pages.
- My profile